Like every other mom with an eye for the environmental future, I seem to have unwittingly built up an armory of recyclable shopping bags well beyond my actual needs. I have large ones, small ones, some made of recycled plastic bottles, some of vinyl, some of canvas. While I do use one or two every day for everything from toys to groceries to diapers to a last-chance change of clothes and a few wipes while out on the road(essential, btw...), the fact is that if I was to fill up every one of my bags on a single trip I'd need a military convoy to carry everything home. No one needs that much stuff. But every mom needs a tote. So I'm looking to downsize my own collection and hand off some convenient carrying-capacity to a new mom in need. This particular re-constituted tote I made for a friend of mine who just had her first baby boy 3 months ago (okay, okay, I run late...). His name is Niko so I thought a big "N" would get him on the letter train early. I dabbled with the idea of an animal that started with the letter "N", like maybe a newt or a narwhal, but I let Grippy choose which animal went on the bag instead. Obviously he chose an octopus. Who wouldn't?! O is so close to N, and so much more fun. Fun and easy to draw, I found out, when I made one that had a tentacle wrapping around the "N"and curious button eyes for shoppers of all ages to have a giggle at.
What You'll Need:
- Canvas bag
- A print fabric, and another plain one- small pieces will do.
- Double sided interfacing
- Iron
- Scissors
- Embroidery thread and needle
- Sewing machine
- Buttons for the eyes
 |
| The final tote. |
.
 |
| Market-ready! |
 |
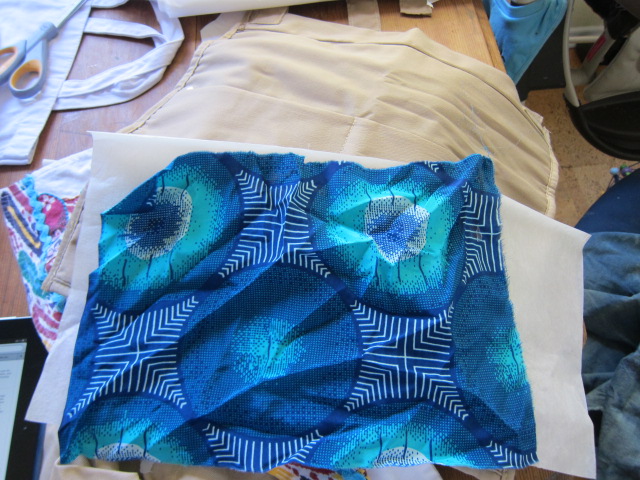
| 1. The raw materials, fabric, double-sided interfacing, canvas bag. |
 |
| 1. Back the fabric with double-sided interfacing by ironing on a low setting. |
 |
| 2. Freehand or trace from a print out a jolly little octopus on back of the interfacing. I found inspiration on the Papersource website. Remember, he will be backwards when appliqued. |
 |
| 3. Cut out your octopus. Cut out a letter too. You can either freehand the letter, or blow one up in a Word doc and trace it. |
 |
| 4. Hand stitch the letter, and machine stitch the octopus to the canvas. Hand sew button eyes on and you're set! |


Comments